Step-by-Step Guide to Install a VAU+Root+CA Certificate Using certmgr.msc on Windows

Before moving on to the installation, first clear cached memory. 

  • Press Ctrl + Shift + Delete → Select “All time” → Tick “Cached images and files” → Click “Clear data”

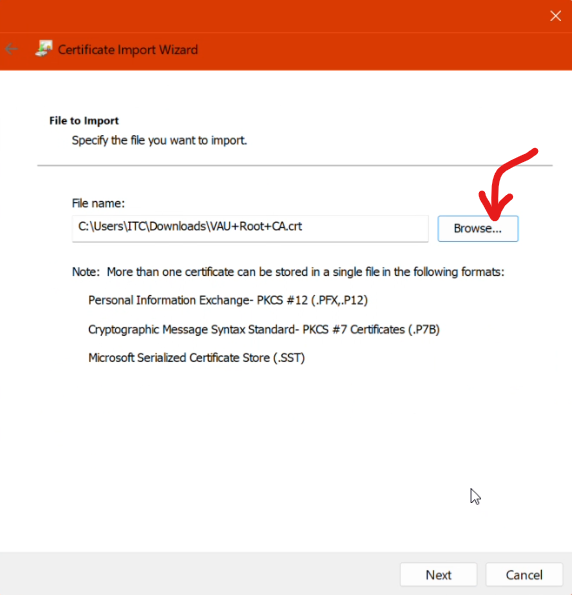
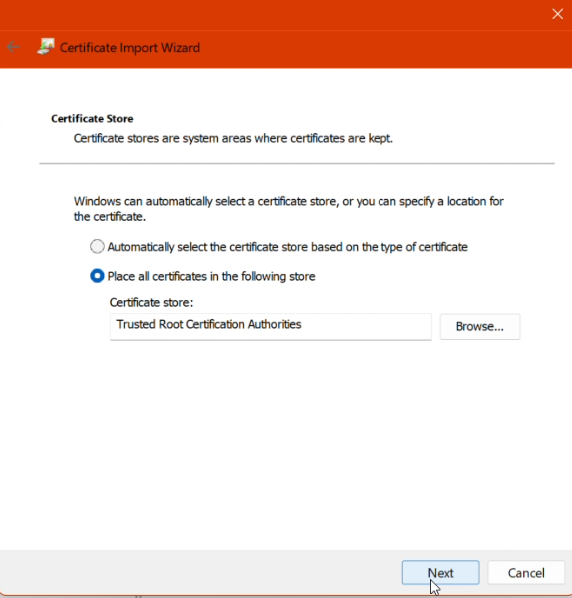
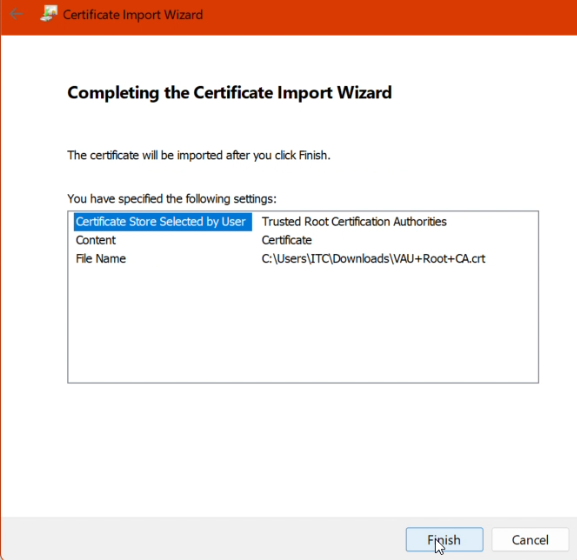
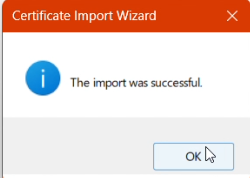
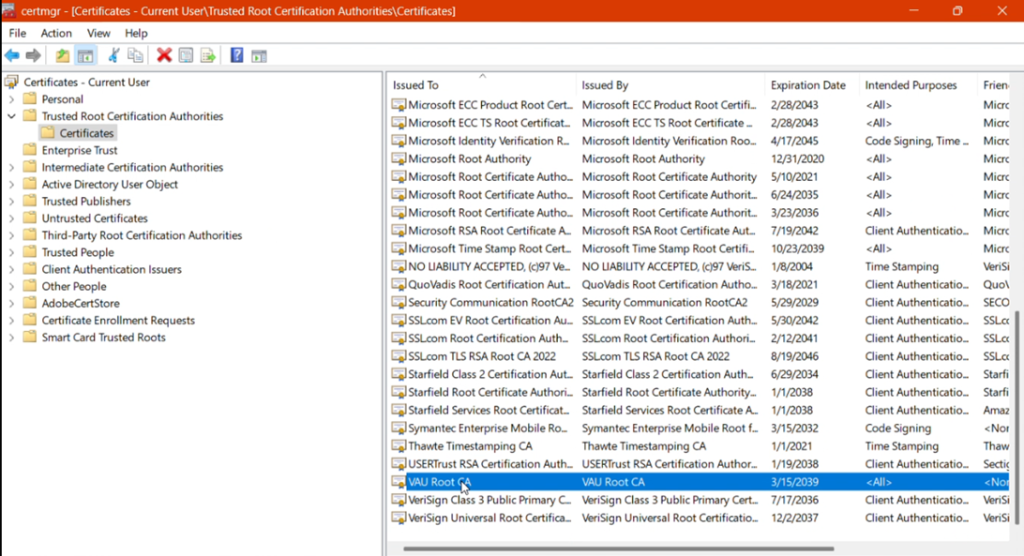
Please download the certification here.

1. Open certmgr.msc

  • Press Win + R to open the Run dialogue.
  • Type certmgr.msc and press Enter.
  • This opens the Certificates snap-in for the current user.

2. Start the Certificate Import Wizard

  • In the left pane, expand Trusted Root Certification Authorities 
  • Right-click on Certificates under the chosen store.
  • Select All Tasks > Import.

3. Import the Certificate File

  • In the Certificate Import Wizard, click Next.
  • Click Browse and locate your certificate file (VAU+Root+CA.cer).
  • Select the file and click Open.
  • Click Next.

4. Choose Certificate Store

  • Select Place. All certificates are in the following store.
  • Ensure the store is set to Trusted Root Certification Authorities if you want to trust the certificate system-wide for the current user.
  • Click Next.

5. Complete the Import

  • Click Finish.
  • If a security warning appears (e.g., “Do you want to install this certificate?”), click Yes to confirm.
  • A message will appear confirming the import was successful.

6. Verify the Certificate Installation

  • In certmgr.msc, navigate to the store where you imported the certificate (Trusted Root Certification Authorities > Certificates).
  • Look for the certificate by name to confirm it is installed.

Video Guide